Are you intrigued by video but not really sure if you have the know-how or budget to make video work for you?
Well keep reading because I’m going to give you the lo-down on how to get started with video even if you have a limited budget.
If you are truly on a limited budget, the DIY route is going to be the most cost-effective for you.
Here’s how you get started.
The very, very, very first thing you need to do is decide what the goal of your video is.
Don’t make a video just to make a video.
Unless you are just practicing and want to learn the ropes in which case go for it.
If you plan on having your video work for you though, here’s what you need to think about:
- Is this a welcome video for your website?
- Is this a video to explain a product or service?
- Is this a value add video chock full of good info to position you as a leader in your industry?
- Is this a video for lead generation?
This list is the most common but you may be doing something else.
Let’s talk about the time, effort and cost you’ll need to invest to create each of these types of videos.
This way you’ll have an idea of what to expect.
Welcome video for your website
So here’s the thing with your welcome video.

Don’t make it a long, boring, in-depth explanation of all you have to offer.
Sure you have a lot of great stuff you do and you want to share that with the world.
But you really need to hold back here.
Pique your visitor’s curiosity and leave them wanting to learn more.
You’ve likely been on websites and started to watch a video that left you feeling less than excited about the business right?
Don’t follow the monkey see, monkey do tactic.
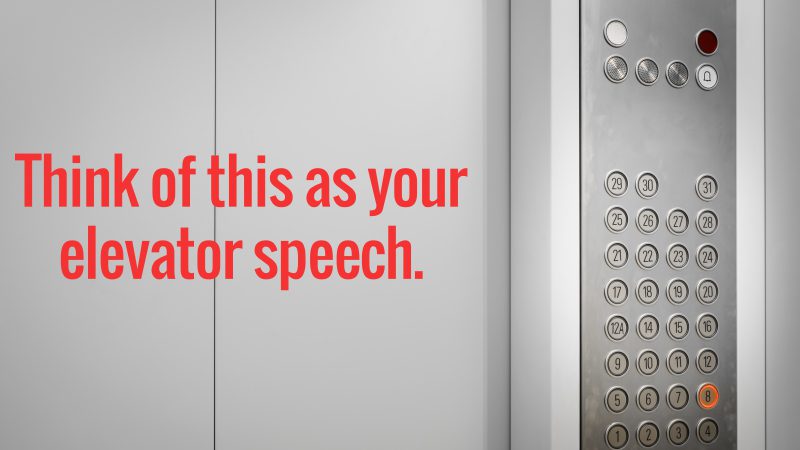
Think of this as your elevator speech.
But make sure your current pitch translates well into video.
Don’t just focus on what you do but explain the benefits your customers get as well.
Now then, if you already have something written out – or maybe you have it memorized and just need to write it out, great.
You just saved yourself some time there.
Now let’s talk about how to get this video produced.
There are a few ways you can create your welcome video.
One is with your smiling face on camera.
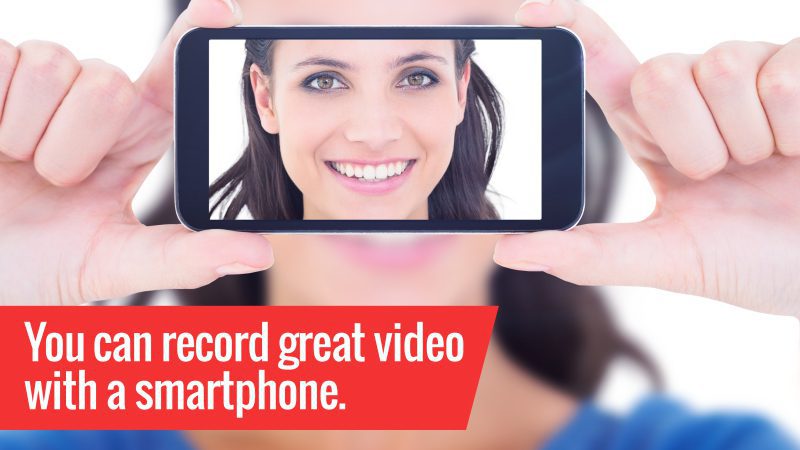
And you can record great videos with a smartphone.
Here’s what you need to invest in.
A tripod and an external mic.
Cost: approximately $35
If you don’t want to invest in lighting equipment, you’ll need to be very intentional about where you film.
Some indoor areas have enough overhead light and you’re good to go.
If you are filming outside, you just want to be careful of shadows and cloud coverage.
Go ahead and do some test clips in different places and see how your footage looks.
If you can’t get decent-looking footage then you’ve got two choices.
Either invest in lights or hire a professional to come film.
You can use softbox lights or umbrella lights.
Lights are going to cost you up to a few hundred dollars but you’ll have them to use over and over again.
I recommend having at least three lights. Four would better.
If you are not ready to go down that road, then consider hiring a videographer for a day.
This way you don’t have to worry about any equipment at all.
Be prepared to spend anywhere between $50-250 an hour for a videographer.
Pricing depends on where you are located and what level of experience you are looking for.
They will typically book a block of time from ninety minutes to three hours (or more) for one video.
It depends on the length of the video.

Your welcome video should be about one to two minutes.
You could go up to three but it better be really solid and engaging.
Don’t feel like you have to put everything and the kitchen sink in here.
You can do other videos about your products and services and we’ll discuss those a little later.
Keep in mind videographers need time to set up and take everything down as well.
If you end up needing to do a lot of takes to get good footage, this could cause the time to get used up very quickly and you may be looking at additional charges.
Check out How to Prepare for a Video Shoot in Three Easy Steps
If you do hire a videographer, they will likely give you the option of editing your video as well.
This is where you’ll have to decide on whether or not you want to invest in professional editing or go the DIY route.
If you, or someone on your staff is interested in learning video editing, then let them give it a go and save the money.
However, if time is of the essence for you, then you may want to consider letting a professional handle it.
But before you make that decision, check around.
In fact, if you have a school nearby that has a multi-media program, you could reach out to them and see if they want to take your video on as a student project.
Or just hire a student and let them edit your video to help build their own portfolio.
You may get them free or dirt cheap.
But remember they are “students” so don’t expect perfection right out of the gate.
Alternatives to Being on Camera
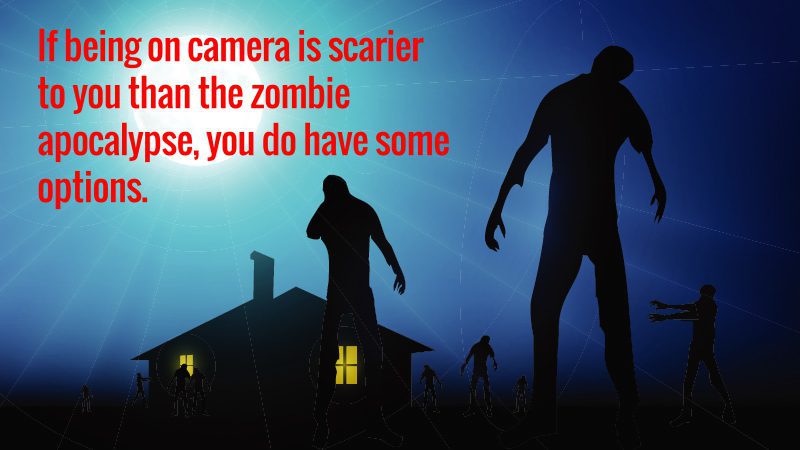
Now then, if being on camera is scarier to you than the zombie apocalypse, you do have some options.
You can use a number of styles such as:
Slideshow
Virtual character
Animated Explainer Video
Motion Graphics template
The time and effort and cost of these styles of videos vary. If you have your script written and any images you need, then expect to pay anywhere between $300-1200 for a 30-second video.

Once you have your website video produced, there’s really no other cost involved.
The goal of this particular video is simply to be posted on your site and share a little about your business.
Overall cost and time for a DIY website welcome video:
Equipment – $100 to $300
Time – Plan on 40 hours for a 30-second video. This includes scriptwriting, filming, and editing time. It may take longer if you struggle with the editing process.
If you do not already own editing software, the prices vary on that as well but there are some free solutions online.
We’ll discuss other editing software a little later.
Add additional cost if you plan to use a videographer for filming or editing. Prices will be in different ranges based on your location.
Let’s move on to another type of video.
Product or Service Video
You can get a lot of mileage out of this type of video.
You can showcase a product or service video on your website as well as on social media, your YouTube channel, and even local business or directory listings that allow you to upload videos.
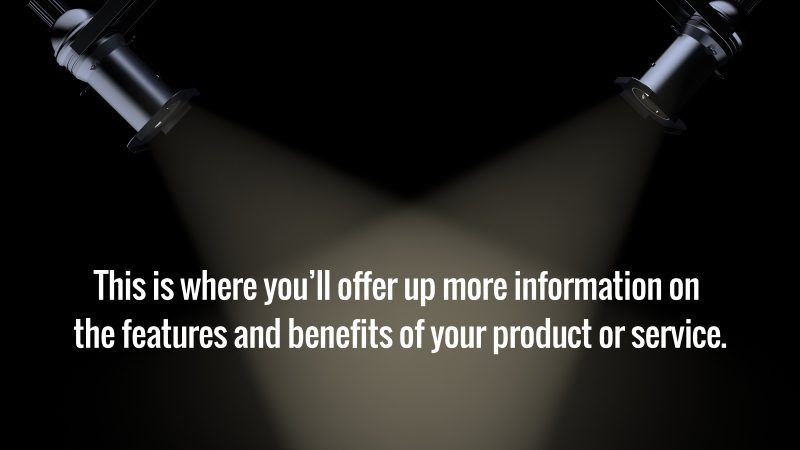
This is where you’ll offer up more information on the features and benefits of your product or service.
There are some similarities in video production here. It really depends on what it is you offer.
If you are offering products then you want to film those.
However, if you don’t keep your products on hand or you are a reseller, you will just have to use images.
Be certain your images are high resolution and large enough.
We’ve had clients send us images that are just way too small to be used in the video.
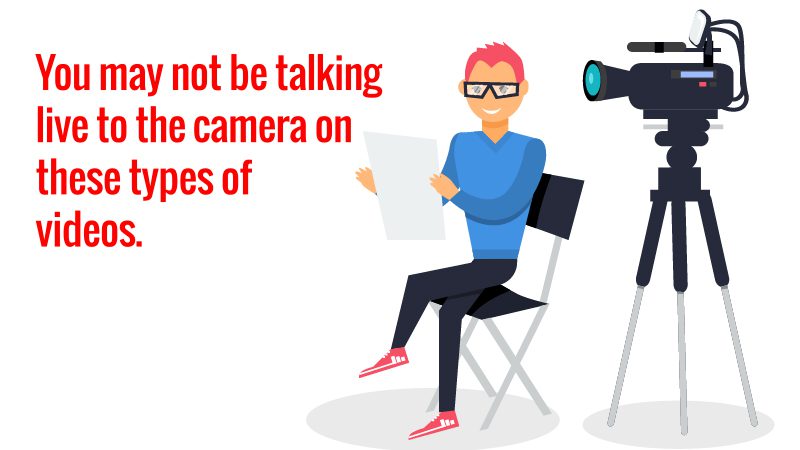
You may not be talking live to the camera on these types of videos so those who are camera shy can breathe a little easier.
That said, you may be narrating what is going on.
If that’s the case, you’ll want to use an external mic.
Now you could narrate while the actual footage is being filmed and use the mic that’s hooked up to your camera.
Or you could narrate after. You would just wait until you have the final edited footage and narrate what is going on.
We already covered the external mic you would use with a smartphone.
You could still use that.
Or you could have an external mic that works with your computer.
My recommendations are:
Blue Yetti
Audio Technica
These are not cheap but they are great microphones.
I’ve used both and it really comes down to personal preference.
If you are going to invest in a mic, I also recommend using a pop filter as well.
There are plenty of choices here and these are fairly inexpensive.
Cost: approximately $150
The editing process will be the same as your website’s welcome video.
You also have options here as well if you don’t want to use live footage the entire time all by itself.
Whether you are using images or footage, you can still use a basic slideshow style video.
You have a lot of options when it comes to making product and service promo videos.
Animoto is probably the most popular when it comes to slideshow style videos. They offer several different designs depending on your subscription level.
Overall cost and time for a DIY product/service video:
Equipment – mic and pop filter, one-time investment $150.
If you want to use music only with your videos, Animoto offers royalty-free music tracks.
Editing software – $16 and up monthly.
Time investment – If you already have images and/or footage you want to use, plan on eight hours for scriptwriting and learning Animoto. It may not take you that long bug I’d give yourself time to play around with the software. The timing can take a while as well as searching for what music you want to use. Once you get the hang of it and have listened to the music multiple times, you could likely whip out a video in 30 minutes once you have your script written.
Ok time to move on to our next style of video.
Value-Add Videos
Value-add videos are likely going to be the longest for you to create.
The reason being is they are simply longer in length.
They will generally be three to ten minutes long.
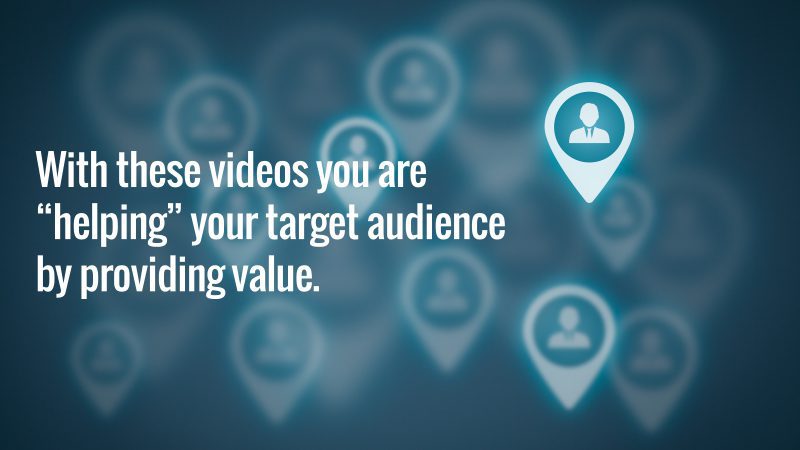
With these videos, you are “helping” your target audience by providing value.
This can be you on camera teaching.
It can be you recording your laptop or monitor to “show” something online or how to do something.
There are so many possibilities.
Here are some examples.
If you are a home services business, what can you show someone how to do that is generally a service that you don’t offer?
If you clean carpets, can you explain how someone can keep their carpets protected longer?
Can you do a review on different types of vacuum cleaners?
If you are a Maid service can you share with someone how to keep their kitchen smelling fresh in between weekly cleaning visits?

If you are an online service company, can you explain how someone can do something online or find something?
We do that here all the time. You can screencast what you are doing using Snagit or Camtasia.
Snagit is pretty easy to learn and use. It’s great for screencasts as well as screenshots.
However, Camtasia is a complete video editing software system.
It does have some limitations over other professional editing software but for basic needs, it’ll do the trick.
Another cool thing about Camtasia is that it has a built in tool to record PowerPoints.
Not a huge deal as you can still record a slide deck with Snagit anyway.
It boils down to price and function.
You can grab Snagit for about $50 while Camtasia (both made by Techsmith) runs about $199.
The good news is they both offer a free trial so you can check them out and see what suits you.
The thing is if you are going to make other video and don’t want the limitations of the subscription software and want a more professional look, Camtasia is a pretty good way to go.
When you want to step it up even more you can invest in After Effects and Premiere.
Overall cost and time for a DIY value-add video:
If you are going to film and edit:
Equipment $200 (tripod, mic, lights)
Editing software – $200
Time – As previously mentioned, these will be the longest videos you make. Plan on several hours of film time for a five-minute video. You will likely need to do several takes as well. This will add to the overall editing time. Editing a five-minute video may take you several days. You’ll need to go through your footage, label clips, crop some footage as well as put all the clips together. It’s a good idea to use transitions with longer videos as well to keep viewers interested. Plan on a week your first time out. As you get better at filming and editing, you may save time. However, it all depends on how much footage you have to go through.
If you are going to screencast:
Equipment – $50-$200
Time investment– this is actually a little faster to edit. The thing is, you can screencast several times and get the screencast perfect before it even hits the editing process. Then all you need is your intro and outro. Realistically, if you had no errors in your screencast, you could complete this type of video in about an hour. That’s even with a few attempts at your screencast.
Ok, we are in the home stretch now. Let’s talk about the last video on the list.
Lead Generating Videos
These are typically for ads. We could include videos that you want to rank in the search engines here as well for lead gen purposes.
But for the sake of this process, we are going to use videos you are creating to run ads with.
Much of the process is completely the same as all the other videos.
The difference here is that you want to be very intentional about the script you write and the way you design this video.
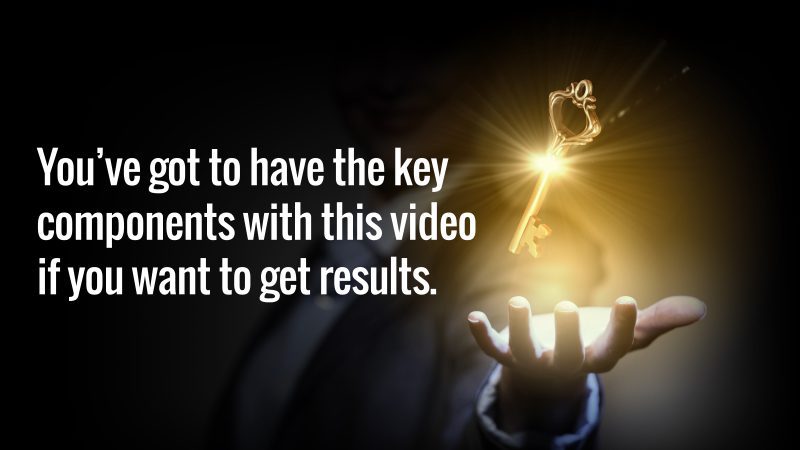
You’ve got to have the key components with this video if you want to get results.
Arguably this video is going to cost you more because there are ad dollars associated with it.
You don’t want to waste that money so make sure your lead gen videos are as solid as they can be.
Generally these ads are going to be short.
Typically thirty to sixty seconds although some ads may be much shorter and there are some that are longer.
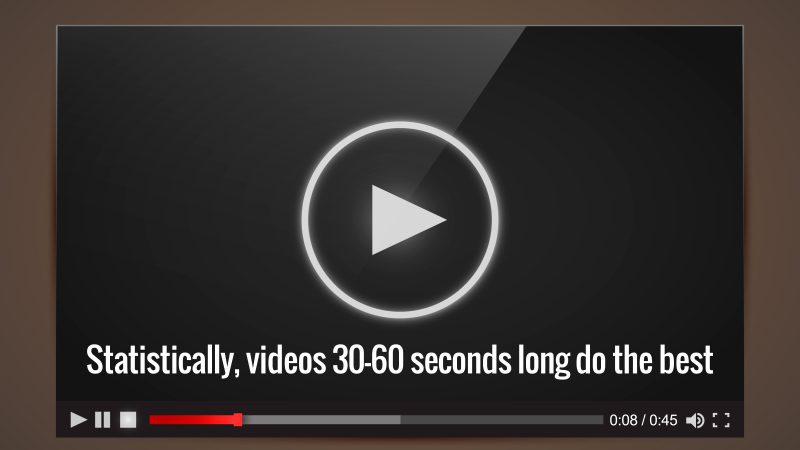
It depends on what it is you are advertising. However, statistically, videos 30-60 seconds long do the best for Facebook and YouTube ads.
As with your other videos, again you have style options here.
You can be live on camera or you can use a slideshow or animated video.
Again it is dependent on what you are offering.
Keep in mind that you shouldn’t be selling high-ticket items in video ads.
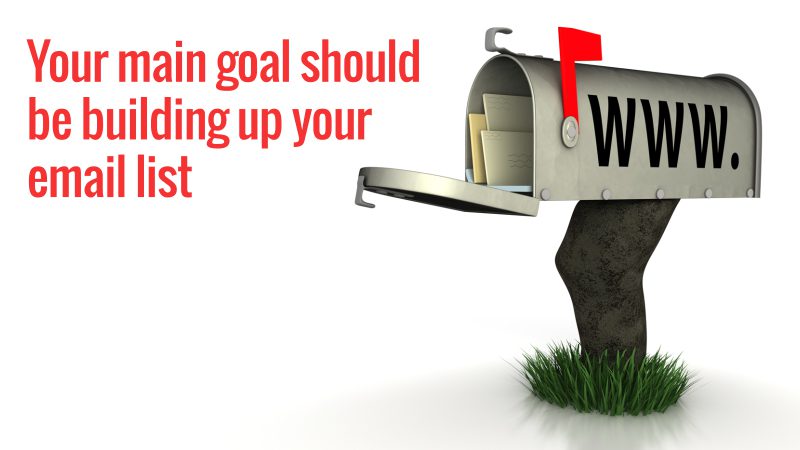
Your main goal should be building up your email list first then as you are building your relationship with that list you can make your offer.
It’s ok to sell low-priced items of say $25 or less but anything more than that is really pushing it right out of the gate.
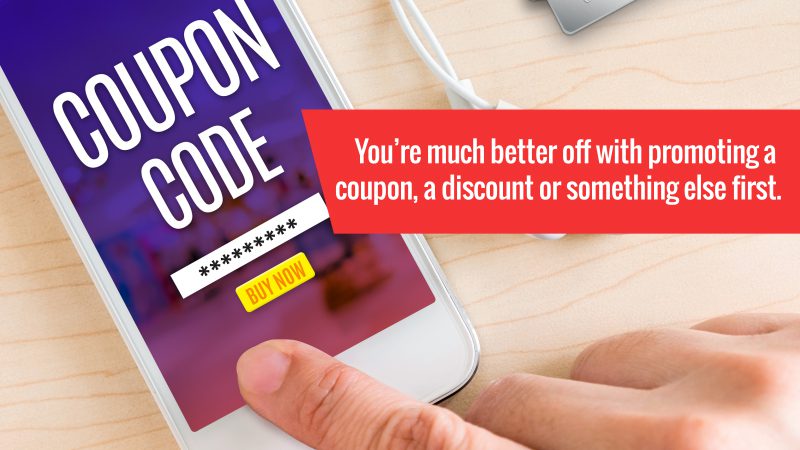
You’re much better off with promoting a coupon, a discount or something else first.
Join our list and get 10% off x.
See how that sounds much better than
Buy my stuff, it’s really great and it’s only $199.
You can also offer a free report or some other valuable piece of information.
A webinar works well too.
The cost to produce this type of video is similar to all the other videos we’ve discussed.
If you are going to film live, you’ll just have to have the proper equipment and editing software.
If you are going to do a slideshow or animated video, again you just need the appropriate software.
The main difference in the cost of lead-generating videos is you have to factor in your ad spend.
Your ad spend is really up to you and it depends on where you want to advertise.
Facebook only? YouTube only? Both? Are you going to include programmatic ads?
These are where your video shows up on other websites that target your specific demographic.
Then you also need to take into consideration how long you want your ad to run.
Typically you can set a daily budget. Or you can have a lifetime budget.
What you need to know is that the larger the audience and reach, the bigger your budget needs to be.
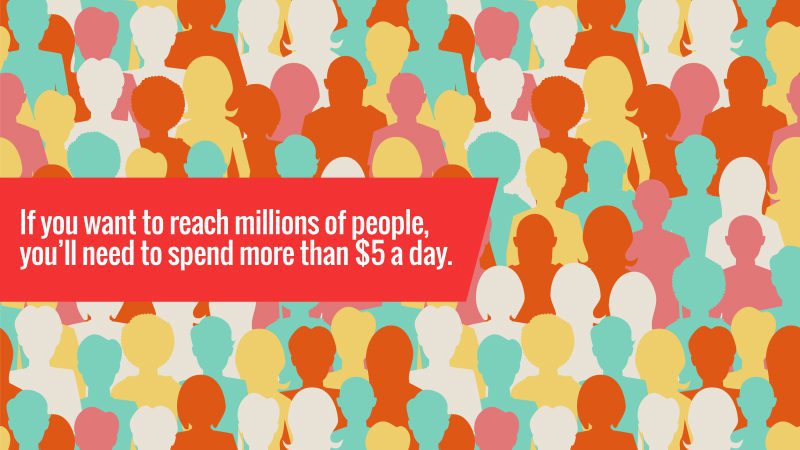
If you want to reach millions of people, you’ll need to spend more than $5 a day.
Another thing you need to keep in mind with ads is that there is always a testing period.
You need to test different targeting to see which responds the best.
This will take some time.
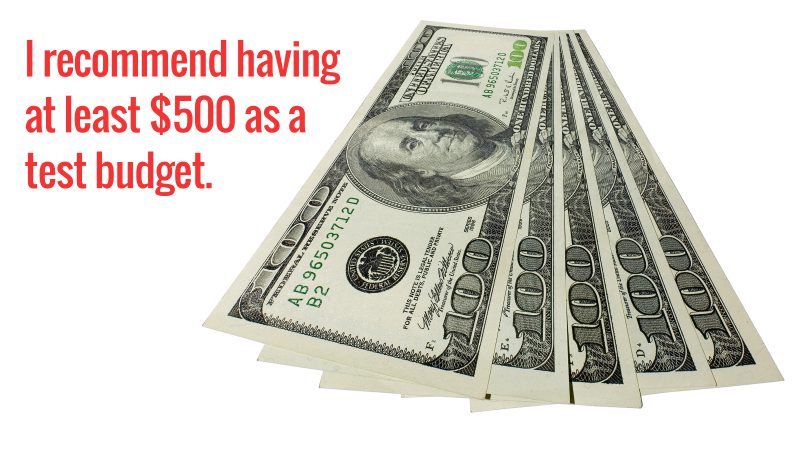
I recommend having at least $500 as a test budget.
This is NOT your full ad budget.
Don’t expect huge results with this test.
This is simply to figure out the best ad copy, the best targeting, and the best offer.
The good news is, once you have that figured out, you should have a solid ad campaign.
After that, it’s up to you how much you want to invest in your ad campaign.
The more people you want to reach, the more you’ll need to invest.
If you have a limited time offer then you’ll have a shorter time frame on the ad and you can decide what budget you’re willing to spend.

Either you let your budget dictate your reach or you let the audience size you want to reach control your ad spend.
Overall cost and time for a DIY lead generation video:
If you are going to film and edit:
Equipment $200 (tripod, mic, lights)
Editing software – $200
You may also consider just using template videos for ads.
Videohive.net has some great After Effects templates.
You could purchase a template you like and ask a video marketing company to give you a quote on producing that for you.
Please note there are limitations with templates and you’ll have to stay within the text and image/footage requirements of the templates but it does cost less than designing from scratch.
If you’re on a limited budget, these types of videos are a step up from a basic slideshow.
Expect to pay about $500-750 for a motion graphics video made from a template.
It depends on the length of the video and what if any customizations you need that are available.
There are other subscription video software editors and you can test out different ones and see what you like.
It will be a bit more time-consuming to research and test out different platforms to see what you like.

Your best bet for lead gen ads is to film and edit or use a template if you’re just starting out.
Time investment– plan on at least an hour film time to get a 30-second ad.
Also, add in scriptwriting time, which may take you a few hours.
For the editing process, you should be able to get your 30-second video edited in one day.
However, if you have a lot of footage to go through and need to splice footage, editing may take you longer.

Well, there you have it.
We covered a lot here.
Now you’ve got an idea of what to plan on from a cost and time perspective to get started with video.
If the DIY route is not something you are ready to tackle, then you have two choices.
You can hire a video editor that is proficient in making the template-style videos which are less expensive but also not quite as professional as custom made videos.
Or, you can take it slow and just have a video produced when you have the funds.
If you’re not sure what path to take, you can schedule a strategy session with us and we’ll let you know what’s the best course of action for you at this time.
We wish you much success with your video efforts.